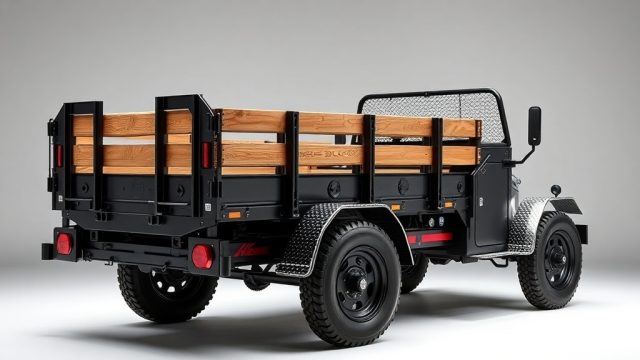
Why Upgrade the Wells Cargo 6×12 Electrical System?
The factory electrical setup on a Wells Cargo 6×12 trailer serves its purpose for basic towing, but for owners who rely on the trailer for frequent hauling, overnight trips, or equipment transport, the standard system often falls short. Dim interior lights, limited exterior visibility, and a single battery that struggles to keep up with demands are common pain points.
Upgrading the electrical system transforms the trailer from a simple cargo box into a functional workshop, mobile office, or reliable equipment hauler. Whether you need brighter work lights, redundant safety wiring for the road, or a solar-ready battery bank, there are practical steps to take. This guide walks through upgrades ranging from simple bulb swaps to full 12V panels and inverter setups, with a focus on lighting and wiring improvements that actually hold up in the field.
What Are the Most Common Weaknesses in the Stock Electrical System?
Before planning upgrades, it helps to understand what the factory delivers. The standard Wells Cargo 6×12 typically includes a basic 7-pin trailer connector wiring harness, one or two dome lights powered by the tow vehicle’s electrical system, and a single 12V battery tray with minimal wiring. The interior lights are often incandescent or low-quality LED strips that dim significantly when the trailer is disconnected from the tow vehicle.
Owners report three consistent issues:
- Insufficient interior lighting – The single dome light near the rear door leaves the front of the trailer dark, making it hard to see cargo or work inside.
- Battery charging conflicts – The stock wiring lacks a proper battery isolator or charge controller, so the tow vehicle’s alternator may overcharge the battery or not charge it at all when the trailer is disconnected.
- Fragile wiring connections – The factory uses automotive-grade butt connectors and standard electrical tape, which can corrode in the high-vibration, moisture-prone environment inside a trailer. Over time, lights flicker or fail completely.
For a deeper look at diagnosing and fixing these issues, see our companion article on Wells Cargo 6×12 Lighting and Wiring Troubleshooting.
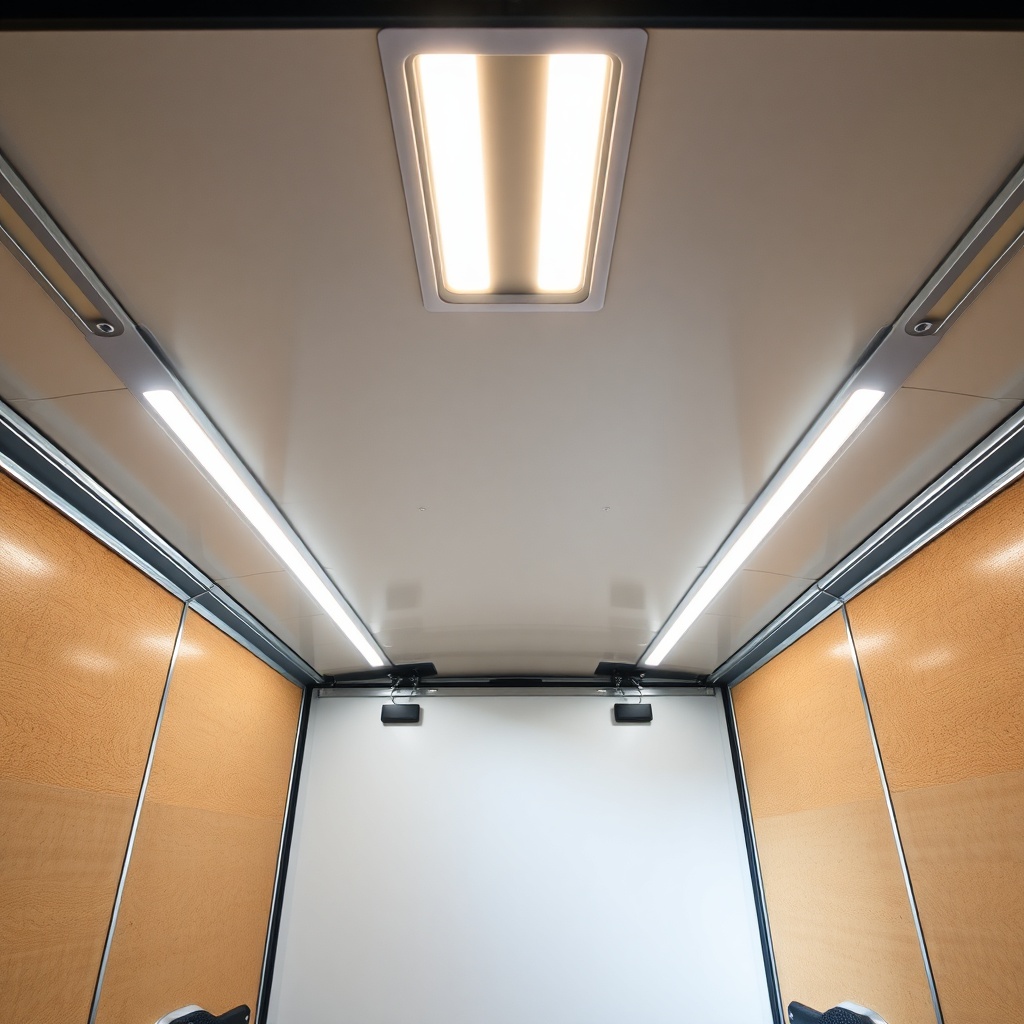
How Do You Upgrade the Interior Lighting for Maximum Visibility?
Swapping out the stock dome lights is the single easiest upgrade that dramatically improves usability. For a 6×12, the goal is even, bright lighting from front to back without blinding shadows.
Recommended approach: Install three 12V LED strip lights along the center ceiling ridge, each 24 inches long and rated at 600 lumens or higher. Wire them in parallel to a dedicated switch near the rear door. For extra task lighting, add two smaller 6-inch LED strips above the side walls near the front corners.
Here is a comparison of common interior lighting options:
| Lighting Type | Lumens | Power Draw (12V) | Cost per Unit (£) | Best For |
|---|---|---|---|---|
| Stock incandescent dome light | 200-300 | 1.5A | Included | Minimal night use |
| 12V LED strip (24 inch) | 600-800 | 0.5A | £12-£18 | General interior lighting |
| 12V puck light (5W LED) | 400 | 0.4A | £15-£25 | Accent or reading light |
| 12V floodlight (10W LED) | 1000 | 0.8A | £20-£35 | Task lighting over workbench |
The LED strips consume a fraction of the power of incandescent bulbs, drawing roughly 0.5A per strip compared to 1.5A for a dome bulb. This matters when the battery is not being charged. With three strips on for six hours, the total draw is about 9Ah, well within a standard 100Ah deep-cycle battery.
Wiring the strips requires running 16-gauge automotive wire from the switch to each strip, using waterproof heat-shrink connectors at every junction. Avoid wire nuts or standard electrical tape—both degrade in temperature swings. Use marine-grade tinned wire if possible, as it resists corrosion far better than standard copper.
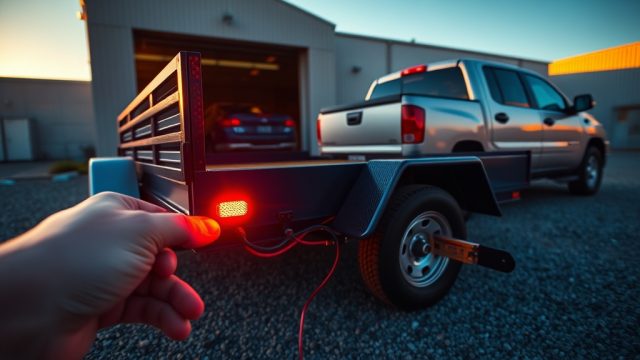
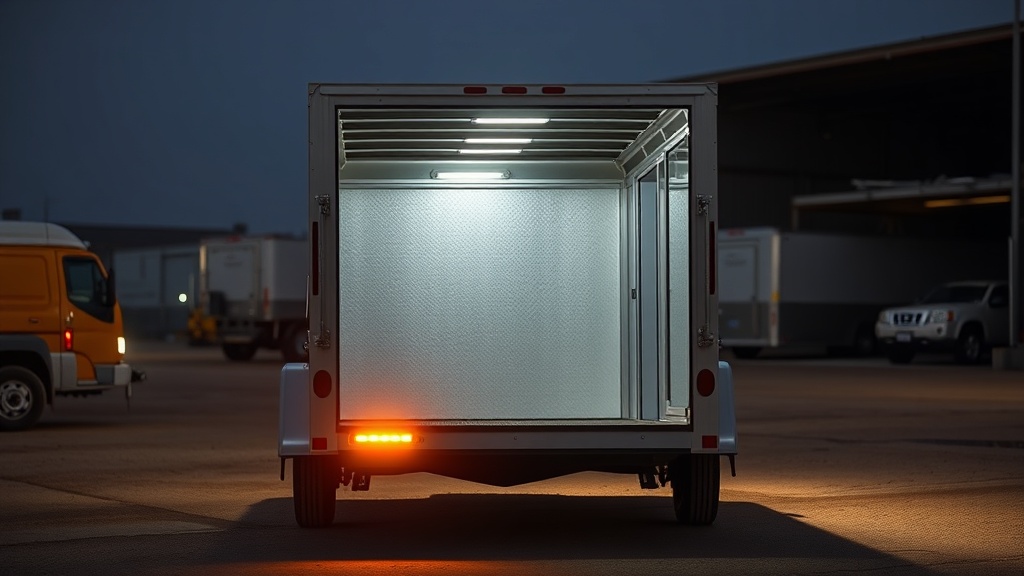
What Should a Basic Exterior Lighting Upgrade Include?
Exterior lighting serves two purposes: safety on the road and convenience at the worksite. Tail lights, turn signals, and clearance lights are already present, but they lack redundancy and brightness for modern conditions.
Critical upgrade: Replace the standard incandescent tail lights with LED sealed units. Not only are LED lights brighter and last longer, they draw less current, reducing load on the tow vehicle’s electrical system. Look for units that are DOT-approved and submersible for weather resistance.
Add two additional features:
- Rear work light – A 15W LED floodlight mounted under the rear bumper, wired to a dedicated switch inside the trailer. Ideal for loading/unloading at night or working behind the trailer.
- Side marker lights upgrade – Replace the stock amber/red incandescent markers with LED versions. They last years longer and are less prone to failure from vibration.
For the rear work light, run a dedicated 14-gauge wire from the battery through a 10A fuse to the switch, then to the light. This keeps it independent of the towing electrical system. Mount the light at least 12 inches above the ground to avoid road spray damage.
Owners often overlook the ground wire. Ensure the new lights have a solid chassis ground—use a dedicated ring terminal bolted to clean metal, not a rusty frame member. A bad ground is the number one cause of trailer lighting problems, as detailed in our troubleshooting article.
How Do You Upgrade the Wiring Harness and Battery System?
The stock wiring harness on the Wells Cargo 6×12 uses a single 7-pin connector with wires that are often 18-gauge or smaller. For higher current draws—such as an inverter or multiple LED lights—this gauge can cause voltage drop and heat buildup.
Wire gauge upgrade: Replace the main battery positive and negative wires with 6-gauge marine-grade cable if you plan to draw more than 30A at any point. For the 7-pin circuit, replace the original wires with 14-gauge for the 12V auxiliary line, and leave the rest at 16-gauge for signal lights. This ensures the tow vehicle can charge the battery efficiently and run accessories without voltage sag.
Add a battery isolator or a DC-to-DC charger if you plan on charging the trailer battery while towing. A simple solenoid-style isolator costs around £40 and prevents the tow vehicle’s battery from draining if the trailer battery is depleted. For lithium batteries, a DC-to-DC charger (around £90-£140) is recommended because the alternator’s voltage regulation may not match the lithium charging profile.
For solar-ready setups, install a Victron or Renogy MPPT charge controller near the battery. Run 10-gauge wire from the roof-mounted solar panel (if applicable) to the controller, and then 6-gauge to the battery bank. Even without panels immediately, running the wire now saves you drilling holes later.
What Advanced Power Management Options Are Worth Considering?
For owners who want a full off-grid capability, the next step involves an inverter, a larger battery bank, and a distribution panel. A 1000W pure sine wave inverter can run power tools, laptops, or small appliances. Mount it as close to the battery as possible to keep the high-current DC runs short, ideally within 3 feet, using 4-gauge cable.
Battery bank sizing: Two 100Ah deep-cycle AGM batteries wired in parallel will provide 200Ah of usable capacity (assuming 50% discharge to maximize lifespan). At 12V, that is 1200Wh of usable power. For most camping or worksite needs, this runs LED lights for 50+ hours, a laptop for 8 hours, and a small fridge for 12-16 hours.
A distribution panel with individual circuit breakers for each branch makes troubleshooting much easier. Label every circuit. Include a dedicated breaker for the interior lights, one for the exterior lights, one for the inverter, and one for USB charging ports. This prevents a short in one circuit from killing everything.
For the inverter, ensure the wiring is sized correctly. A 1000W inverter at 12V draws over 83A at full load. Use 4-gauge cable with a 100A ANL fuse at the battery. The fuse is critical—without it, a short can melt the insulation and start a fire.
What Do Owners Say About Their Electrical Upgrades?
Feedback from the Wells Cargo community points to a few clear patterns. The most common positive comment is that LED lighting upgrades make the trailer feel twice as usable. Owners who did the interior strip light swap report they can see every corner of the cargo area, which makes loading and unloading at night far less frustrating.
The second most mentioned upgrade is the battery isolator. Several owners recounted incidents where the trailer battery drained the tow vehicle battery during a long drive, leaving them stranded. After installing a £40 isolator, the issue disappeared completely.
Many owners also emphasize the importance of using marine-grade connectors and heat shrink. One owner noted, “I replaced all the butt connectors with heat-shrink marine connectors, and I haven’t had a single light fail in three years. Before that, I was re-splicing every six months.”
Several owners who upgraded to a solar panel with an MPPT controller reported being able to run a small refrigerator 24/7 during summer trips, without ever needing shore power. The upfront cost of around £300 for a 100W panel and controller paid for itself in convenience within one season.
Frequently Asked Questions
Can I install electrical upgrades myself, or should I hire a professional?
Basic upgrades like swapping light bulbs and adding LED strips are straightforward DIY jobs with basic hand tools. Wiring an inverter or installing a battery isolator requires comfort with automotive electrical work. If you are not confident, hire a mobile RV technician—costs range from £50-£80 per hour.
Will upgrading the electrical system void my Wells Cargo warranty?
It depends on the scope. Minor changes like replacing bulbs are generally fine. Drilling holes in the roof for solar panels or modifying the factory wiring harness may void specific parts of the warranty. Check your warranty documents before starting.
What gauge wire should I use for the main battery connections?
6-gauge marine-grade tinned wire is the minimum for most trailer applications. For high-draw circuits like an inverter, use 4-gauge or larger. The larger the gauge number, the thinner the wire—so 4-gauge is thicker than 6-gauge.
How do I prevent flickering lights after an upgrade?
Flickering is almost always caused by a poor ground connection. Ensure all ground wires are connected to clean, unpainted metal. Use a star washer to bite through any paint. If the problem persists, check the 7-pin connector for corrosion.
Can I run a 12V fridge off the standard battery?
Not for long. A standard 100Ah lead-acid battery has only 50Ah of usable capacity (to preserve lifespan). Most 12V fridges draw 4-6A when running, giving you 8-12 hours before the battery needs recharging. A dedicated deep-cycle battery and solar charging system is recommended for fridge use.
What fuse size do I need for the lighting circuit?
For a circuit powering three 0.5A LED strips (total 1.5A), use a 5A fuse. For a single 10W floodlight (0.8A), a 3A fuse works. Always use the smallest fuse that does not blow under normal operation. This protects the wire from overheating.